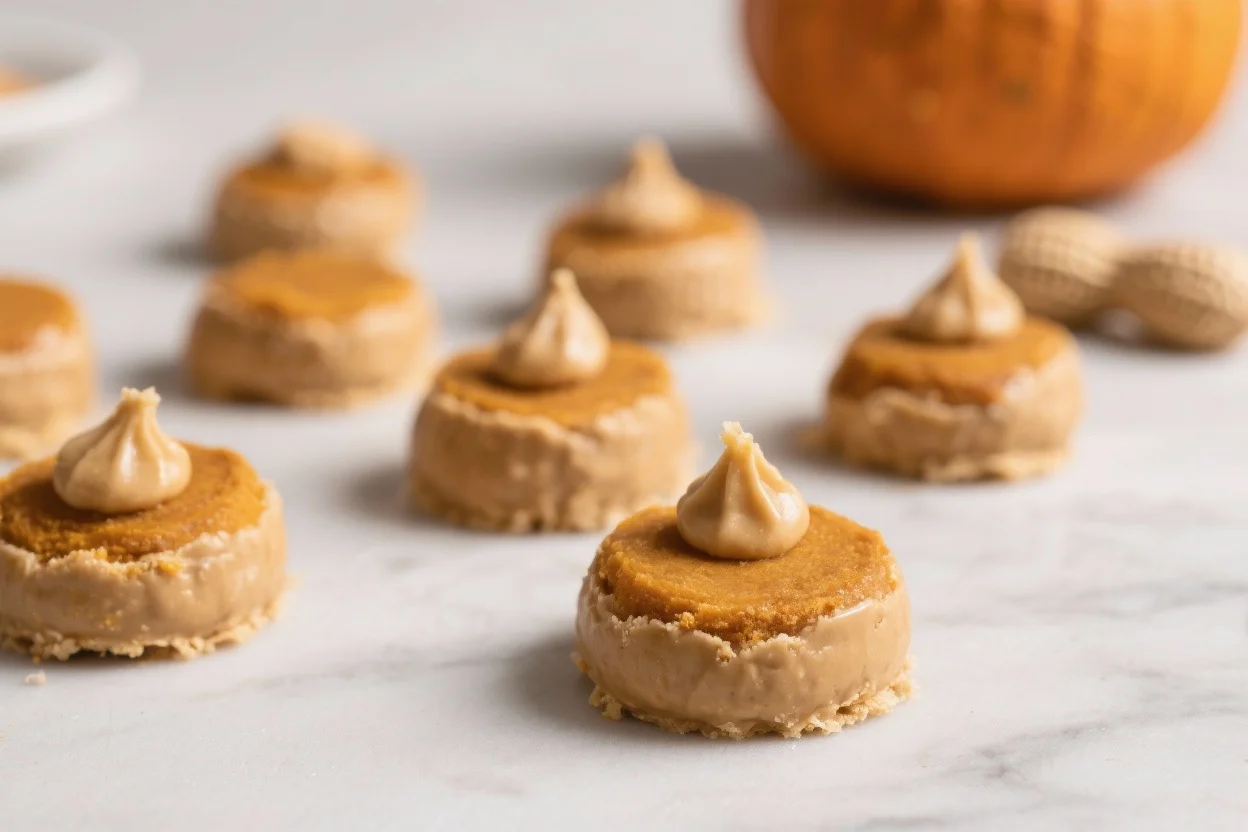
Peanut Butter & Pumpkin Rounds – Homemade Dog Treats
These soft little treats are an easy homemade reward for dogs who love peanut butter.
Pumpkin gives them a tender texture, while oats and flour help the rounds hold their shape. Everything comes together with basic ingredients and a few simple baking steps.
They are also easy to make in a batch, so you can keep some ready for training, afternoon snacks, or an occasional reward.
If your dog loves the smell of peanut butter, you may find these disappear from the treat jar pretty quickly.
Disclosure: As Amazon Associates, we earn from qualifying purchases at no extra cost to you.
Peanut Butter & Pumpkin Rounds – Homemade Dog Treats
Prep Time: 10 minutes
Cook Time: 30 minutes
Total Time: 40 minutes
Servings: 24 treats
Ingredients
- Unsweetened pumpkin puree — use plain pumpkin, not pumpkin pie filling
- Natural peanut butter — choose a xylitol-free variety
- Egg
- Old-fashioned rolled oats or quick oats
- Whole wheat flour or oat flour
- Ground flaxseed — optional
- Cinnamon — optional, just a tiny amount
- Water — as needed to adjust the dough
Instructions
- Preheat the oven: Set your oven to 350°F (175°C).Line a baking sheet with parchment paper so the treats are easier to remove afterward.
- Combine the wet ingredients: Add the pumpkin, peanut butter, and egg to a mixing bowl.Whisk everything together until you have a smooth mixture.
- Add the dry ingredients: Stir in the oats and flour.If you’re using flaxseed or a small amount of cinnamon, add them now.
- Check the dough: The mixture should be soft and easy to shape.If it feels too sticky, add a little more flour. If it seems dry or crumbly, add a teaspoon of water at a time.
- Shape the treats: Scoop roughly one tablespoon of dough and roll it between your hands.Place each ball on the prepared baking sheet and gently press it flat. Aim for roughly 1/4 to 1/3 inch thickness.
- Bake: Place the tray in the oven and bake for approximately 14–18 minutes.The tops should look dry and the edges should be set. Bake toward the shorter end for softer treats and a little longer for firmer ones.
- Cool completely: Leave the rounds on the baking sheet for about 5 minutes.Transfer them to a cooling rack and allow them to cool fully before giving one to your dog.
- Portion and serve: Start with an appropriate amount for your dog’s size.Smaller dogs can have 1–2 treats, medium dogs around 2–3, and larger dogs may have a few more depending on their normal diet and calorie needs.
Why This Recipe Works
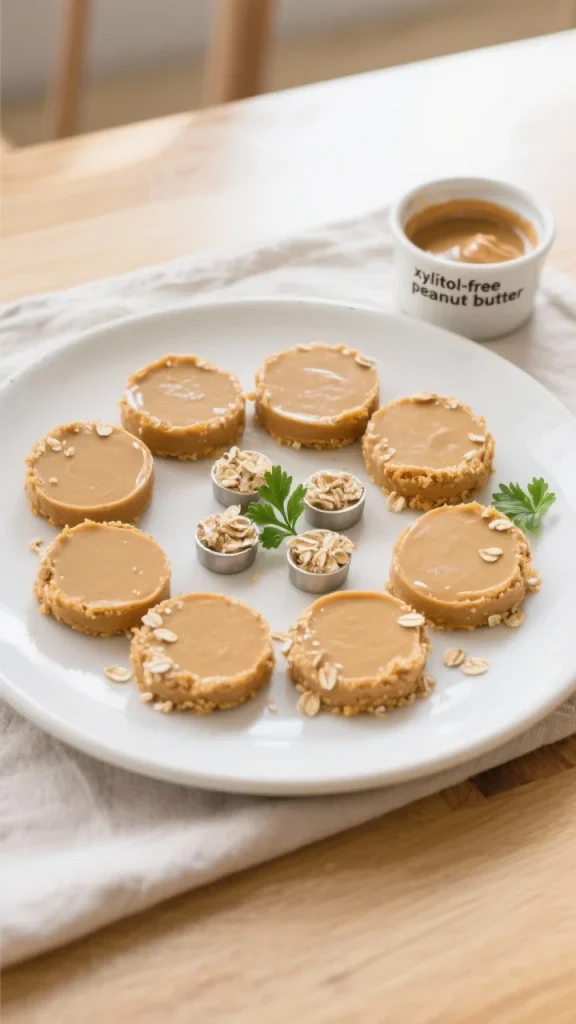
Peanut butter and pumpkin make a flavorful combination that many dogs find hard to resist.
The peanut butter brings richness and a strong aroma, while pumpkin adds moisture and fiber. Oats help give the treats a hearty texture without making them overly complicated.
The finished rounds stay fairly soft, which can make them easier for older dogs to chew.
They’re also inexpensive to prepare because most of the ingredients are common pantry staples.
Shopping List
- Unsweetened pumpkin puree
- Natural peanut butter
- Egg
- Old-fashioned rolled oats or quick oats
- Whole wheat flour or oat flour
- Ground flaxseed — optional
- Cinnamon — optional
- Water — as needed
The most important label to check is the peanut butter. Make sure it does not contain xylitol.
Instructions
- Preheat and prep: Heat the oven to 350°F (175°C).Cover a baking sheet with parchment paper.
- Mix the wet ingredients: Add 1/2 cup pumpkin puree, 1/2 cup natural peanut butter, and 1 egg to a bowl.Whisk until the mixture is smooth.
- Add the dry ingredients: Stir in 1 cup rolled oats and 3/4 cup whole wheat flour.Add 1 tablespoon ground flaxseed and a tiny pinch of cinnamon if you’re using them.
- Adjust the dough: Check the consistency before shaping.If it’s too wet, add flour one tablespoon at a time. If it’s too dry, add a small splash of water.
- Shape the rounds: Take about one tablespoon of dough and roll it into a ball.Place it on the baking sheet and flatten gently. Leave about an inch between each treat.
- Bake: Bake for 14–18 minutes.Remove them when the tops have dried and the edges are firm. Shorter baking creates a softer treat, while extra time makes them firmer.
- Cool completely: Leave the treats on the tray for 5 minutes before transferring them to a cooling rack.Make sure they are completely cool before serving.
- Portion and serve: Give the treats according to your dog’s size and normal daily food intake.These are treats, so they should complement—not overwhelm—their regular diet.
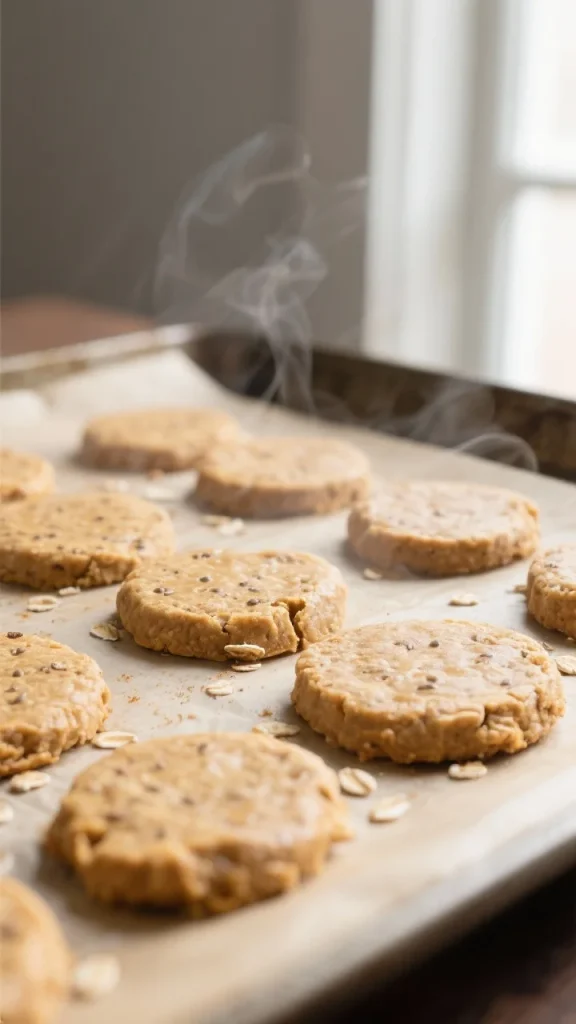
Storage Instructions
- Room temperature: Keep the cooled treats in an airtight container for up to 3 days.
- Refrigerator: Store them in a sealed container for around 7–10 days.
- Freezer: Freeze for up to 3 months.
- Thawing: Take out only the number of treats you need and allow them to thaw before serving.
- Moisture control: If the treats are stored in a humid environment, a small piece of paper towel inside the container can help absorb excess moisture.
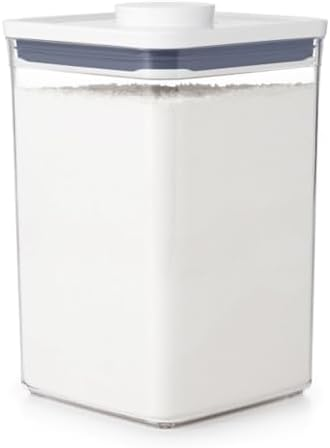
OXO, Good Grips Pop Container – 4.4 Qt/, Airtight Food Storage
$21.92
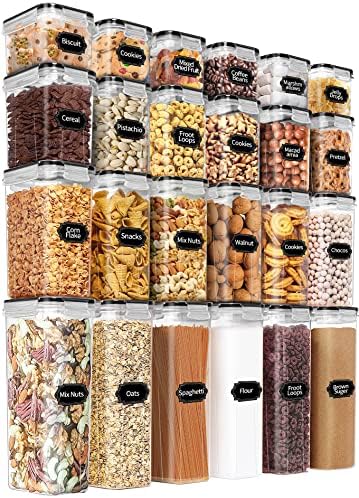
PRAKI Airtight Food Storage Containers Set with Lids – 24 PCS, BP
$28.49
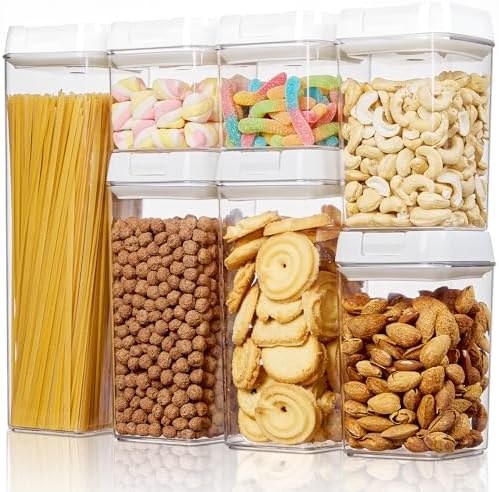
Vtopmart Airtight Food Storage Containers, 7 Pieces
Benefits of This Recipe
- Pumpkin provides fiber: Pumpkin adds dietary fiber and moisture to these homemade treats.
- Simple ingredients: You know exactly what you’re mixing into the dough.
- Affordable: Most of the ingredients can already be found in a typical kitchen.
- Soft texture: The baking time can be adjusted to make the rounds softer or firmer.
- Easy to prepare: No special equipment or complicated baking techniques are needed.
Common Mistakes to Avoid
- Using the wrong peanut butter: Always check the ingredient label and avoid peanut butter containing xylitol.
- Choosing pumpkin pie filling: Pie filling isn’t the same as plain pumpkin puree. Use unsweetened pumpkin instead.
- Overbaking: Leaving the treats in the oven too long can make them unnecessarily hard.
- Serving them while hot: Let the treats cool completely before giving them to your dog.
- Ignoring portions: Even homemade treats contribute calories, so keep the serving size reasonable.
Recipe Variations
- Grain-free option: Use oat flour instead of wheat flour. You can also combine oat flour with a small amount of coconut flour.
- Crunchier rounds: Make the treats thinner and extend the baking time by a few minutes.Letting them cool in the switched-off oven can help remove additional moisture.
- Banana boost: Replace a portion of the pumpkin with mashed banana for a slightly sweeter treat.
- Chew-friendly mini bites: Make much smaller rounds for training sessions.Reduce the baking time so they don’t become too hard.
- Allergy-aware peanut swap: Sunflower seed butter can be used instead of peanut butter when appropriate. Make sure it is xylitol-free.
- Herb hint: A tiny amount of dried parsley can be added for extra aroma. Avoid garlic and onion powders.
FAQ
Can I use canned pumpkin pie filling?
No.
Use plain, unsweetened pumpkin puree instead.
Pumpkin pie filling can contain sugar and spices that aren’t appropriate for these dog treats.
Is peanut butter safe for all dogs?
Many dogs can enjoy peanut butter in moderation.
Always check the label for xylitol and avoid products containing this ingredient. Dogs with specific dietary restrictions may also need a different treat option.
How many treats can I give my dog per day?
Keep treats within a reasonable portion of your dog’s overall daily calories.
A small dog may only need one or two treats, while a larger dog can generally have more. The exact amount depends on the rest of their diet and activity level.
Can I make these without eggs?
Yes.
You can use unsweetened applesauce or additional pumpkin as a binder. Ground flaxseed mixed with water can also help hold the dough together.
The finished texture may be slightly softer.
Do these work as training treats?
Yes.
For training, make the rounds much smaller than regular treats.
Small bite-sized pieces allow you to reward your dog several times without giving them a large amount of food during one session.
How do I know when they’re done?
Look for dry-looking tops and firm edges.
The center should no longer look wet or raw. For a softer treat, take them out earlier rather than waiting for them to become deeply browned.
Can I add meat or cheese?
A small amount of low-fat cheese can be mixed into the dough if your dog tolerates it.
Keep in mind that fresh meat or dairy can change how quickly the treats spoil, so refrigerate or freeze them appropriately.
My dog is sensitive to wheat. What can I use instead?
Oat flour is a simple substitute for whole wheat flour.
You can also combine oat flour with a small amount of coconut flour, but remember that coconut flour absorbs a lot of moisture. Add water gradually until the dough becomes workable.
How long will they last?
They can stay at room temperature for around 3 days, refrigerated for 7–10 days, or frozen for up to 3 months.
Before serving stored treats, check for unusual odors, mold, or changes in appearance.
In Conclusion
Peanut Butter & Pumpkin Rounds are an easy homemade treat when you want something simple for your dog.
Pumpkin keeps the texture soft, peanut butter brings plenty of flavor, and oats give the rounds a satisfying texture.
You can make them softer for everyday rewards or smaller for training sessions. Once baked and cooled, store a batch so you always have a homemade treat ready when your dog deserves one.